Boil Chicken Breast Right: Find Out the Ideal Time
Ever wondered why your chicken sometimes turns out dry or rubbery? The secret lies in precise cooking times. Getting it right ensures tender, juicy results every time.
Whether you’re preparing a quick meal or meal prepping for the week, knowing the exact time needed is crucial. Factors like thickness, bone-in vs. boneless, and even the cooking method play a role. For instance, boneless cuts typically take 8-15 minutes, while bone-in varieties may need up to 20.
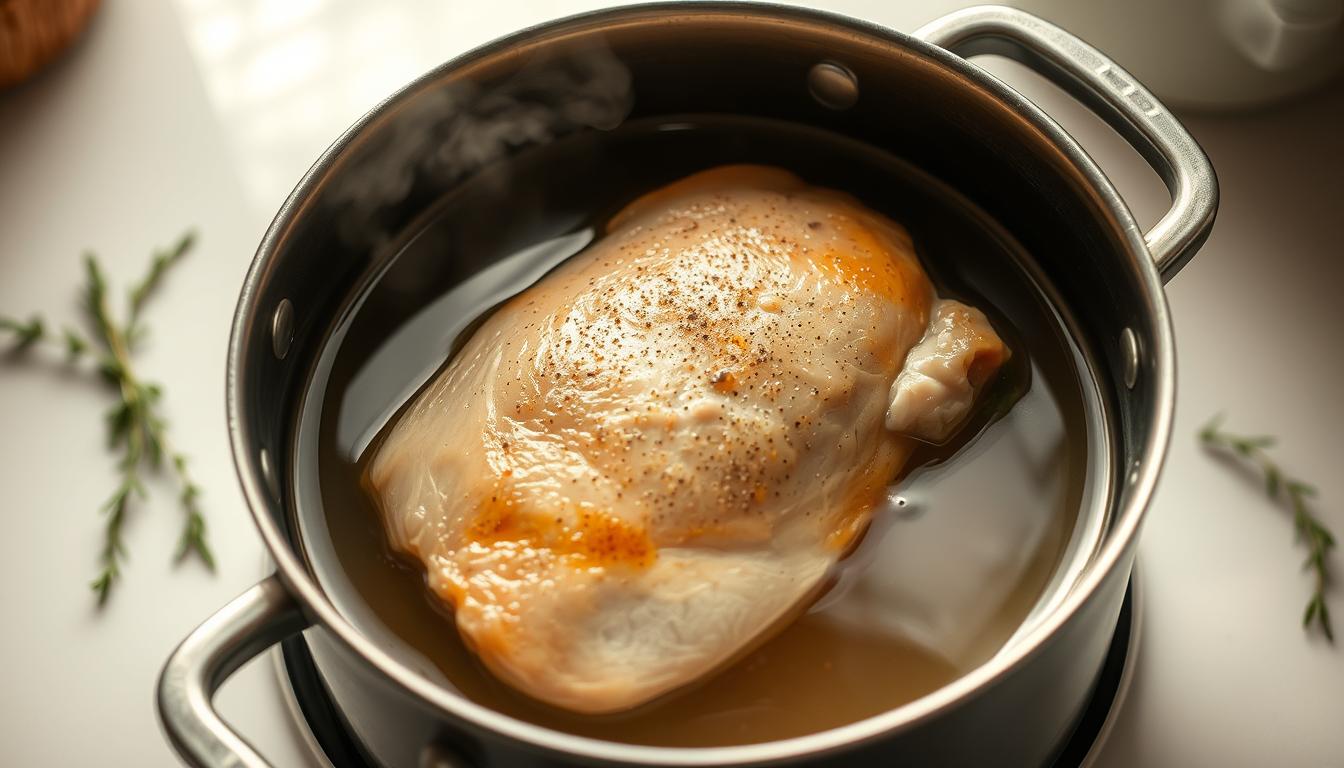
Many confuse boiling with simmering, but the difference matters. Simmering, or poaching, keeps the meat moist and flavorful. Overcooking, on the other hand, can ruin the texture. Using a thermometer to check for an internal temperature of 165°F ensures perfect doneness.
Ready to master this simple yet essential cooking technique? Let’s dive into the details to help you achieve restaurant-quality results at home.
Key Takeaways
- Precise cooking times ensure tender and juicy results.
- Boneless cuts take 8-15 minutes; bone-in takes up to 20.
- Simmering is better than boiling for moist, flavorful meat.
- Use a thermometer to check for 165°F internal temperature.
- Overcooking can lead to dry, rubbery texture.
Table of Contents
Why Boil Chicken Breast?
Looking for a quick and versatile way to prepare protein-packed meals? Boiling is a simple yet effective method that delivers tender, juicy results every time. Unlike dry-heat cooking methods like baking or grilling, boiling retains more moisture, ensuring your meat stays flavorful and moist.
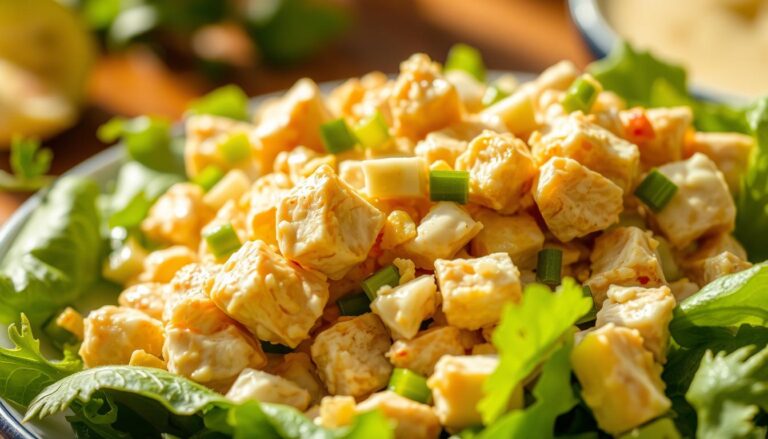
This technique is perfect for creating a variety of dishes. From hearty soups and fresh salads to flavorful enchiladas and burrito bowls, boiled meat is incredibly versatile. It’s also a great option for meal prepping, as cooked meat can be stored in the fridge for up to four days or frozen for longer use.
One of the best parts? Boiling yields a dual-purpose outcome. Not only do you get perfectly cooked meat, but the cooking liquid can be used as a flavorful broth for soups or other recipes. This makes it a time-efficient and cost-effective choice for busy weeknights.
| Benefits of Boiling | Examples |
|---|---|
| Retains moisture | Salads, soups, enchiladas |
| Versatile for multiple dishes | Burrito bowls, sandwiches |
| Ideal for meal prepping | Lunch salads, casseroles |
| Creates flavorful broth | Soup bases, cooking liquid |
Whether you’re planning a quick dinner or prepping meals for the week, boiling is a reliable way to achieve delicious results. It’s no wonder this method is a favorite among home cooks and chefs alike.
How Long to Boil Chicken Breast for Perfect Results
Achieving perfectly cooked chicken starts with timing. Whether you’re working with boneless or bone-in cuts, the right duration ensures tender, juicy results. Let’s break down the specifics for each type and how to check for doneness.
Boneless, Skinless Chicken Breasts
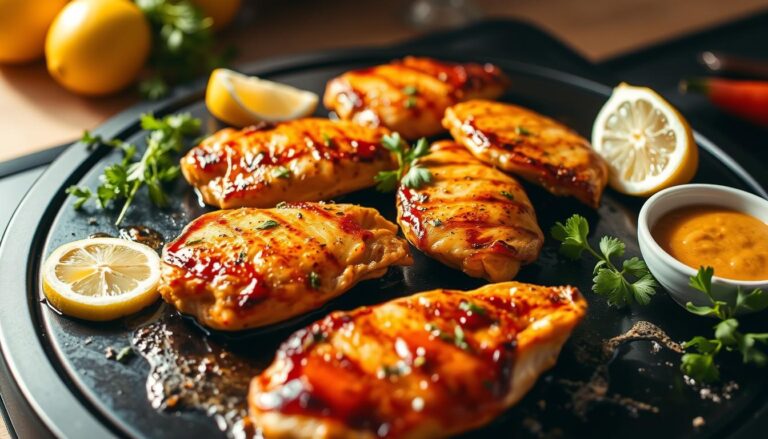
Boneless, skinless cuts are a popular choice for their convenience. Typically, they take between 8 to 15 minutes, depending on their size. Smaller pieces cook faster, while larger ones may need a bit more time. Always check the thickest part to ensure even cooking.
Bone-In Chicken Breasts
Bone-in varieties take longer to cook due to the bone’s insulating effect. Plan for around 20 minutes to ensure the meat is fully cooked. The bone also adds flavor, making it a great option for soups and stews.
Checking Doneness: Thermometer vs. Visual Cues
Using a thermometer is the most accurate way to check for doneness. The internal temperature should reach 165°F. If you don’t have a thermometer, look for clear juices and no pink flesh. A pro tip? Check multiple thickest parts to ensure consistency.
| Cut Type | Cooking Time | Key Tips |
|---|---|---|
| Boneless, Skinless | 8-15 minutes | Check the thickest part |
| Bone-In | 20 minutes | Bone adds flavor |
Undercooking can pose health risks, while overcooking leads to dry, rubbery meat. Stick to the recommended times and use a thermometer for the best results. With these tips, you’ll master the art of cooking chicken every time.
Step-by-Step Guide to Boiling Chicken Breast
Mastering the art of boiling starts with the right preparation. From choosing the right pot to controlling the heat, every step matters. Let’s break down the process to ensure tender, flavorful results every time.
Preparing the Cooking Liquid
Start with a large pot that fits your meat comfortably. Add enough cooking liquid to cover it completely. For best results, use cold water or broth and bring it to a boil together with the meat. This method, known as the cold start technique, ensures even cooking.
Season generously with salt and pepper. If using water, add 1 tablespoon of kosher salt for every quart. For extra flavor, include aromatics like garlic, onions, or herbs. Skim any foam that rises to the surface for a clearer broth.
Bringing to a Boil vs. Simmering
Once the cooking liquid reaches a rolling boil, reduce heat to maintain a gentle simmer. The ideal temperature range is 180-200°F. This method prevents overcooking and keeps the meat tender.
Watch for visual indicators. A rolling boil has large, rapid bubbles, while a simmer shows small, gentle bubbles. Use a thermometer to ensure the internal temperature reaches 165°F for safe consumption.
Choose the right pot size based on the quantity of meat. A pot that’s too small can cause the liquid to boil too vigorously, while one that’s too large may require more liquid than necessary.
Best Ingredients for Flavorful Boiled Chicken
The secret to a flavorful dish lies in the ingredients you choose. Whether you’re using broth or water, or adding aromatic herbs and spices, each element plays a crucial role in enhancing the taste of your meal.
Broth vs. Water: Which to Choose?
Using broth instead of water can elevate your dish significantly. Broth adds 50% more flavor and richness, making it ideal for soups, stews, and other recipes. Water, on the other hand, is a neutral base but can be enhanced with seasonings like salt, garlic, and peppercorns.
For every quart of water, add 1 tablespoon of kosher salt to ensure the meat absorbs enough seasoning. If you’re using broth, opt for low-sodium versions to control the saltiness. Both options have their merits, so choose based on your desired outcome.
| Broth | Water |
|---|---|
| Adds 50% more flavor | Neutral base |
| Ideal for soups and stews | Can be enhanced with seasonings |
| Low-sodium options available | Requires added salt for taste |
Aromatics and Seasonings to Elevate Taste
Herbs and aromatics are essential for creating depth in your dish. Classic combinations like garlic and peppercorns or ginger and scallions add layers of flavor. For a unique twist, try star anise, lemongrass, or citrus zest.
Regional profiles can also inspire your seasoning choices. Mediterranean dishes benefit from rosemary and thyme, while Asian-inspired meals pair well with soy sauce and sesame oil. Don’t forget to repurpose leftover flavored broth for soups or cooking grains.
Here’s a quick guide to seasoning measurements:
- 1 tablespoon each of rosemary, thyme, salt, and peppercorns.
- 2 teaspoons of garlic powder or fresh garlic.
- 1 teaspoon of turmeric or paprika for added color and warmth.
With the right ingredients, you can transform a simple dish into a culinary masterpiece. Experiment with different combinations to find your perfect blend.
Common Mistakes to Avoid When Boiling Chicken
Avoiding common pitfalls can make all the difference in your cooking results. Even small errors can lead to dry, rubbery, or bland dishes. Let’s explore the top mistakes and how to fix them for perfect results every time.
One of the biggest errors is using rapid boiling instead of a gentle simmer. High heat causes proteins to tighten too quickly, resulting in a tough texture. Keep the temperature between 180-200°F for tender, juicy meat.
Another common issue is inadequate salt in the cooking liquid. Salt enhances flavor and helps the meat retain moisture. Use 1 tablespoon of kosher salt per quart of water for best results.
Choosing the wrong pot size can also ruin your recipe. Overcrowding reduces efficiency by 40% and leads to uneven cooking. Use a pot large enough to fit the meat comfortably, allowing it to cook evenly.
Discarding the cooking liquid is a missed opportunity. This nutrient-rich broth can be used for soups, sauces, or cooking grains. Skim any foam for a clearer, tastier result.
Finally, improper seasoning timing can affect flavor. Add aromatics like garlic, onions, or herbs at the start for maximum infusion. With these tips, you’ll avoid common mistakes and create delicious dishes every time.
How to Store and Reheat Boiled Chicken Breast
Proper storage and reheating techniques can make or break your meal prep game. Whether you’re saving leftovers or planning ahead, following the right steps ensures your meat stays fresh, flavorful, and safe to eat.
Refrigeration Guidelines
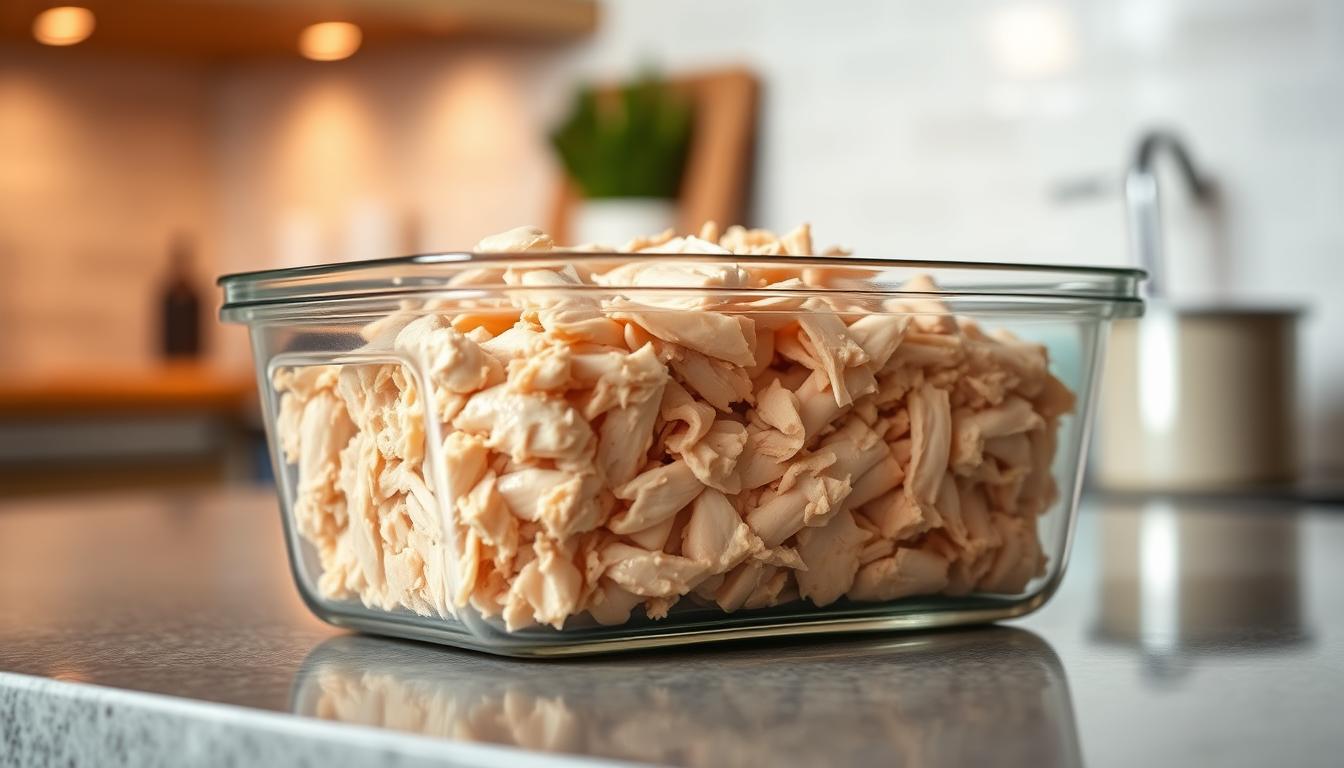
For short-term storage, keep your cooked meat in the fridge. Use airtight containers to lock in moisture and prevent contamination. According to refrigeration guidelines, it’s safe to store it for up to 5 days at temperatures below 40°F.
If you’ve prepared shredded chicken, portion it into cups or smaller containers for easy use. This method also helps maintain freshness and reduces waste.
Freezing for Long-Term Use
For longer storage, freezing is your best bet. Pack the meat in airtight containers or freezer bags to prevent freezer burn. For portion control, consider freezing it in broth ice cubes. This method keeps the meat moist and ready to use in soups or stews.
Frozen meat can last up to 3 months in a regular freezer or up to a year in a deep freezer. Always label containers with the date to track freshness.
Here’s a quick comparison of storage methods:
- Refrigerator: Up to 5 days at 40°F or below.
- Freezer: 3-12 months, depending on storage conditions.
When reheating, add a splash of broth or water to prevent dryness. Use the microwave in short bursts or warm it in a skillet with a bit of oil. Always ensure the internal temperature reaches 165°F for safety.
Creative Ways to Use Boiled Chicken Breast
Transform your boiled chicken into a variety of delicious meals with these creative ideas. From quick lunches to hearty dinners, the possibilities are endless. Whether you’re cooking for one or feeding a family, these tips will help you make the most of your protein.
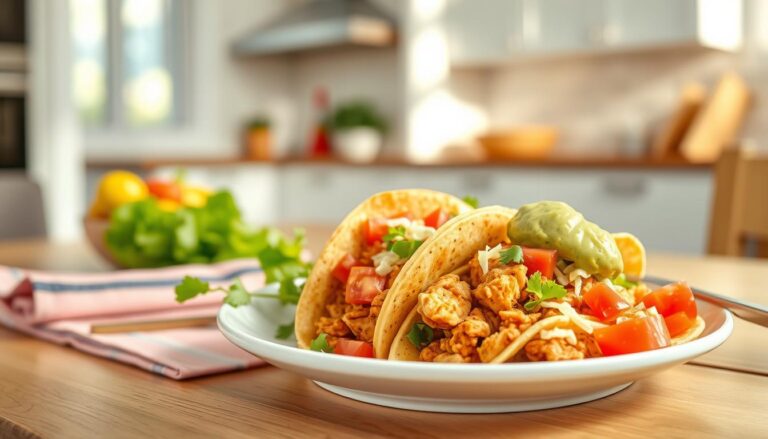
One breast can yield up to 3 enchiladas or 2 cups of soups. Use the meat in wraps, tacos, or even as a pizza topping for a protein-packed twist. For a comforting dish, try combining it with dumplings or adding it to a one-pot meal with rice and veggies.
Looking for international flavors? Serve Indian-style chicken with roti or create a spicy chicken banh mi. For a kid-friendly option, use shredded meat in quesadillas or sandwiches. The broth from cooking can also be repurposed to cook grains or as a base for sauces, ensuring zero waste.
Here are some innovative recipes to try:
- Chicken Tikka Masala with basmati rice.
- Spicy celery and glass noodle salad.
- Chicken Alfredo with a creamy sauce.
- Caprese chicken with fresh mozzarella and basil.
- Chicken tortilla soup using the cooking broth.
With these ideas, you’ll never run out of ways to enjoy boiled chicken. Experiment with different flavors and cuisines to keep your meals exciting and nutritious.
Conclusion
Perfecting your cooking technique can elevate everyday meals. By focusing on precise time and temperature, you ensure tender, juicy results every time. This method is adaptable for various diets, making it a versatile choice for any kitchen.
Don’t hesitate to experiment with flavor profiles. Adding herbs, spices, or marinades can transform your dish into something extraordinary. Always remember to store cooked protein safely in the fridge or freezer to maintain freshness.
Here’s a pro tip: Batch cooking saves time and ensures you always have a ready-to-use ingredient on hand. Whether you’re preparing salads, soups, or casseroles, this approach simplifies meal prep.
With these insights, you’re ready to create delicious, nutritious meals effortlessly. Happy cooking!
FAQ
Why should I boil chicken breast instead of using other cooking methods?
How do I know when the chicken breast is fully cooked?
What’s the difference between using broth and water for boiling?
Can I add herbs and aromatics to the cooking liquid?
How long can I store boiled chicken breast in the fridge?
What are some creative ways to use boiled chicken breast?
Should I bring the liquid to a boil or simmer the chicken?
What are common mistakes to avoid when boiling chicken breast?
Source Links
- How Long to Boil Chicken Breast – D&D Poultry – https://ddpoultry.ca/how-long-to-boil-chicken-breast/
- How to Boil Chicken Breasts – Chefjar – https://chefjar.com/how-to-boil-chicken-breasts/
- How to Boil Chicken – https://feelgoodfoodie.net/recipe/how-to-boil-chicken/
- How Long to Boil Chicken? (Quick Glance Time Chart!) – https://foodess.com/article/how-long-to-boil-chicken/
- Here’s How to Poach Chicken so It’s Juicy and Tender – https://www.thepioneerwoman.com/food-cooking/recipes/a62283092/how-to-boil-chicken-recipe/
- Chicken Internal Temp: Everything You Need To Know – https://blog.thermoworks.com/chicken-internal-temps-everything-you-need-to-know/
- No Rotisserie Chicken? Here’s How To Boil Chicken For Any Recipe – https://www.delish.com/cooking/recipe-ideas/a22826207/how-to-boil-chicken/
- How to Boil Chicken Breasts: Our No-Fail Method for Juicy Chicken – https://www.bhg.com/recipes/chicken/breasts/how-to-boil-chicken/
- How to Boil Flavorful Chicken Breast – Mike & Minda’s Kick’n Kitchen – https://mikeandmindaskicknkitchen.com/how-to-boil-flavorful-chicken-breast/
- Follow These Simple Instructions to Boil Chicken Without Drying It Out – https://www.countryliving.com/food-drinks/a60777997/how-to-boil-chicken-correctly/
- How to Boil Chicken Breasts – https://sweetcsdesigns.com/the-best-boiled-chicken-recipe-ever/
- 7 Common Cooking Mistakes To Avoid When Making Chicken Breasts – https://www.thespruceeats.com/biggest-mistakes-when-cooking-chicken-breasts-4173843
- Why Does Chicken Foam When It’s Being Boiled and 3 Solutions To Prevent It – https://www.cookist.com/why-does-chicken-foam-when-its-being-boiled-and-3-solutions-to-prevent-it/
- How to Make Shredded Chicken: Easy Boiling Method for Chicken Breast – https://beatthebudget.com/recipe/how-to-make-shredded-chicken-easy-boiling-method-for-chicken-breast/
- What’s Really The Best Way To Reheat Leftover Chicken? – https://www.southernliving.com/how-to-store-reheat-leftover-chicken-8644845?srsltid=AfmBOoqPLc1fa8xr-ti5RJtf3lKwMW3gsdyh2hZEtS08WYVaXNVS3MLO
- 6 BEST BOILED CHICKEN RECIPES – SayNoCash Blog – https://blog.saynocash.com/6-best-boiled-chicken-recipes/
- How to Boil Chicken for a Week’s Worth of Meals – https://www.epicurious.com/ingredients/how-to-poach-boneless-skinless-chicken-breasts-for-easy-meals-article
- 30 Ways to Cook Chicken Breast for Dinner Tonight – https://www.thepioneerwoman.com/food-cooking/meals-menus/g60370587/chicken-breast-recipes/
- The 6 Mistakes You Make When Cooking Chicken Breasts – https://www.simplyrecipes.com/chicken-breast-mistakes-food-pro-8687735
- Does Chicken Breast Get Softer the Longer You Cook It? – https://chefiq.com/blogs/blog/does-chicken-breast-get-softer-the-longer-you-cook-it?srsltid=AfmBOoqA1cRc-PgC40nLInpRRCYwkgIcsIxGQdgparuCDXRKuwKzgjqy
- Ideal Chicken Temp for Delicious, Nutritious, Juicy Meat Every Time – https://www.kimecopak.ca/blogs/cuisine/chicken-temperatures?srsltid=AfmBOoponXDXl8dv7iEWBuglxYqYRjyz_vI-_pSn1xXgF02iKIa3vvoL

